I was so excited to get my Quilter’s Planner on my birthday last week, the timing was perfect and (as I often am at the end of the year) I was ready to get planning, scheduling and starting some new organizational habits. I’ve been elbow deep on some exciting “super secret” things in the craft room but having watched my dear [online] friend Stephanie launch her Quilter’s Planner from a super secret project to a real life, AMAZING planner has been such an inspiration to keep pushing forward!
When Stephanie and I chatted the other day she’d mentioned the pattern would be out soon, so during my snow day yesterday I finished the most time sensitive items I needed to for my business then downloaded the Zippy Quilter’s Planner Cover Pattern and got sewing!
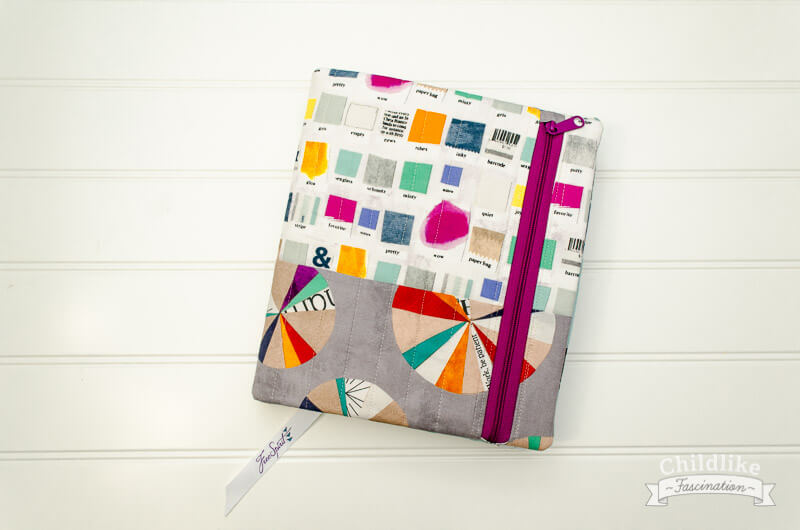
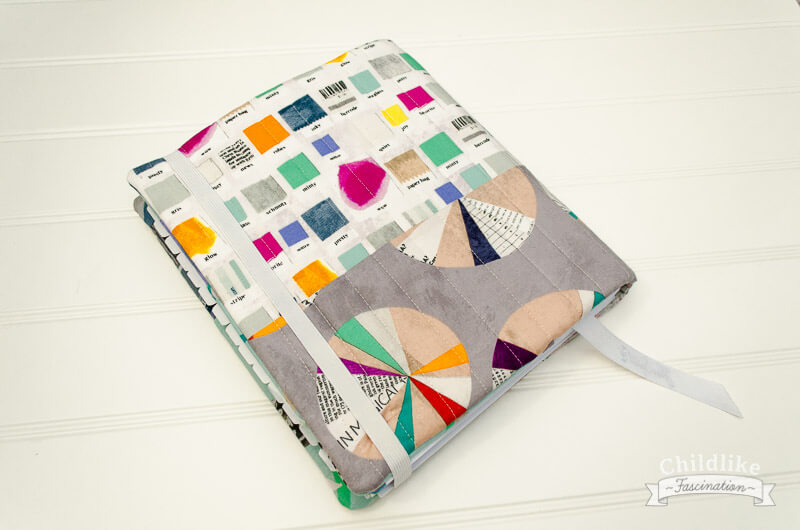
I used 4 fat quarters I had in my stash of Paint by Carrie Bloomston and all the other notions came from the stash too: the zipper, elastic, ribbon etc. I wanted my cover to have some puff to it so I started by piecing the exterior fabric and quilting it with 1″ straight lines to the batting. The quilting is imperfect because I rushed and did a poor job pin basting instead of walking downstairs to spray baste. One of these times I’ll learn…
It’s worth noting that just moments after I finished stitching the cover I looked and saw a fresh package of Annie’s Soft and Stable which I wish I’d used for this project. It always happens like that doesn’t it?!
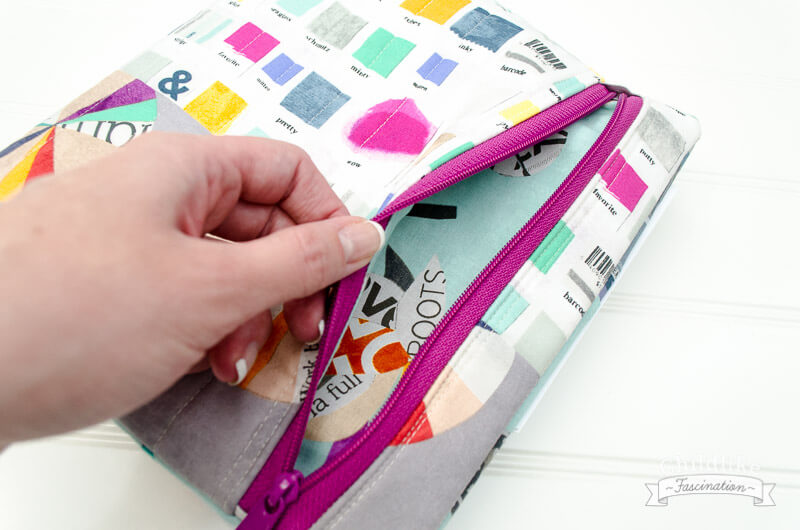
I love that there’s a zipper pocket on the front. This is where I’ll be keeping my planner essentials like pens, highlighters and sticky notes. Overall, I’m very pleased with how my zipper came out. I did veer from the pattern’s instructions a bit and basted the zipper (if I don’t baste the zip down before sandwiching a zipper between two layers it always ends in disaster) and I trimmed the inside pouch so that it would lay flat without a bulge. I wish I’d done the tabs a bit differently at the top and bottom; I don’t love where they are resting but they’re still 100% workable!
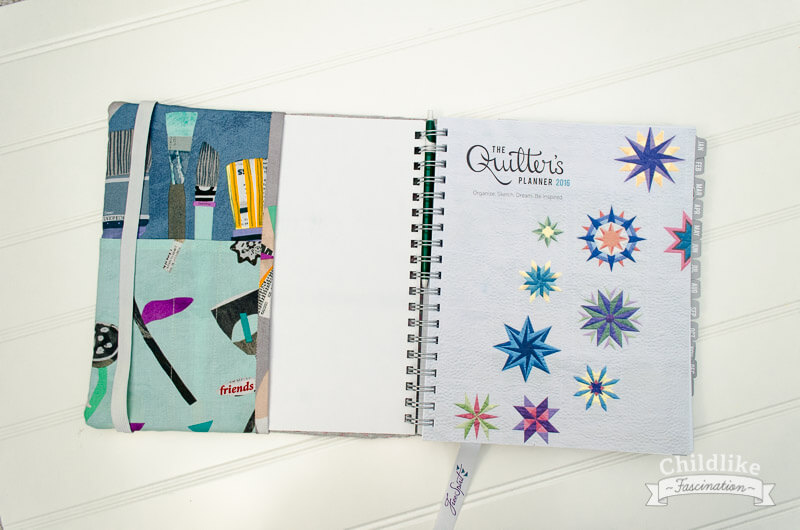
On my inside flap I fussy cut the print so the brushes pop out of the pocket. I was so impressed with how super snug this pattern is on the Quilter’s Planner, it’s PERFECTLY sized, not a 1/4″ to be spared!
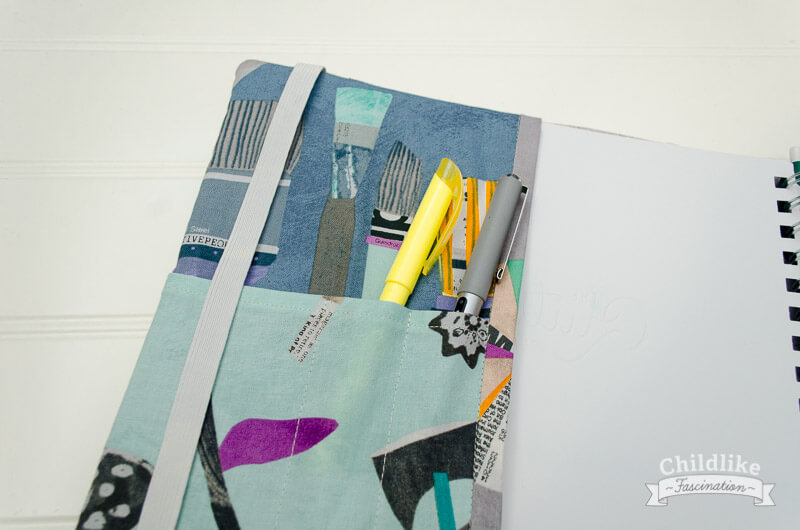
I added a couple of pen specific pockets in that flap too. Great for quickly stashing a pen and a highlighter. As you can see I finished the raw edge of the flap by binding the edge instead of rolling or hemming. I did this because I knew the quality would come out better this way since my hemming skills often leaves something to be desired.
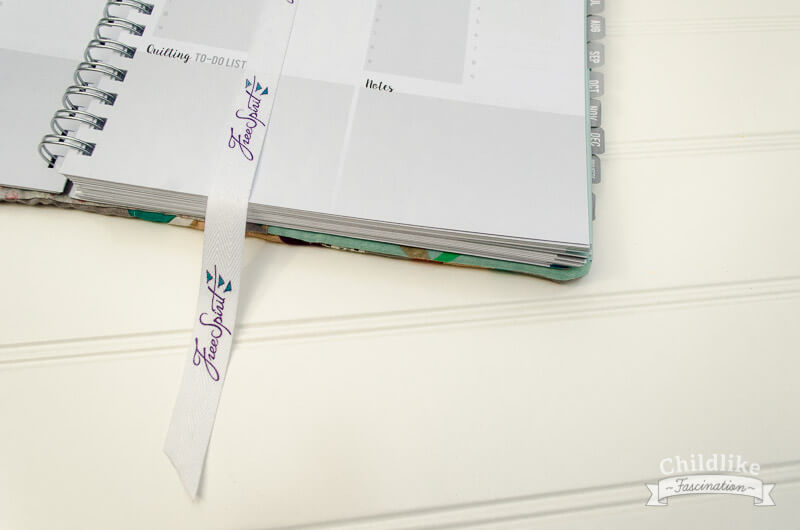
The fabric is Windham Fabrics but the Free Spirit twill tape from a recent charm pack was just so perfect and a wonderful message for a creative planner bookmark!

The business card pocket didn’t work out for me. I’m not sure if maybe I cut the piece wrong but my standard sized cards don’t fit. No big deal though; I’ll use the bigger pocket to hold them.
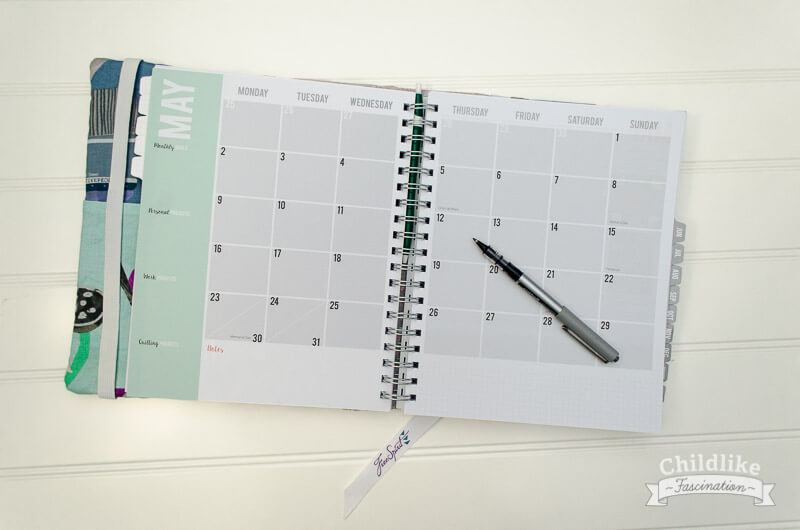
I just love how the cover fits the planner and how very inspirational it is seeing it while flipping through the planner adding notes and dates and deadlines. Wonderful job with the case Stephanie of Late Night Quilter and Amanda of What the Bobbin!
Have you ordered a Quilter’s Planner 2016 or do you use another planner? Share any of you planner tips in the comments cause I could use all the help I can get with getting better at sticking with a planner for a year (one of my 2016 goals!!)
Linking up with

Hi Terri Ann – your planner cover looks great! I love that Carrie Bloomston fabric. And I love that elastic strap closure – quick and easy, but I think my favorite part might be those pen pockets inside the front cover. LOVE how the paint brushes seem to be in the pockets! 😉
Thanks Laney – I’m so pleased with how it came out, the pattern Stephanie and Amanda created was a life saver! Otherwise I’d have missed some of the bells and whistles that will come in handy in the months to come.
A very inspirational cover indeed. Love the fabrics and the binding makes it special. . I am using a composition book as my planner but thinking of using this pattern to make a cover. Thank you for the links.
I’m pretty sure Amanda’s original pattern for the Zippy Notebook cover is for a composition book so I hope you get a chance to check it out on her blog link: http://www.whatthebobbin.com/2015/07/12/zippy-notebook-cover-tutorial-part-1/. The zipper pocket for pens on the outside gives me hope I can stick with planning this year since I usually give up by February!!
This is an awesome cover. I can’t wait to make one.
Yay!!! Isn’t it a fun pattern? Those fussy cut brushes are amazing! I’m so happy to hear that it fit perfectly for you. I wanted it to be snug, but easy enough to get on and off. (I made a few different sizes before this one). I love the changes you made…. all such great ideas. And p.s. I have done the same thing with my zipper stop tabs too. I often forget to center them. But it really doesn’t matter at all! Lots of love to you Terri!
Look at you go! Love the bookmark, so perfect. Going to need to try this out for my planner.
This looks fantastic! I’m probably not going to be sewing one myself, so if you ever want to make a second… 😉 LOL The business card sections is really genius.
The only extra fancy pocket I added that Stephanie didn’t have in the pattern was the pencil holder so that’s all I can take credit for 🙂 I’m tempted to make a second one but I’m afraid if I make another I’ll just want to have two to swap out and it would never get mailed!!!
It turned out great! Perfect fabric choices! I had a few changes while making mine, and same thing happened to my business card pocket! Too small! I wish I had made my pocket with pen slots…genius!
Now to remember to use the planner!!
Okay so maybe it wasn’t just me then! In just about every pattern I’ve followed before I’ve botched something…whoops!
It looks really cute and I’m relieved to know it wasn’t pieced! When I first saw the wheel I though “Oh no – now people are pushing the standard even higher for the well-dressed planner – STOP IT, people. I can’t keep up with all this!” So phew, and I can’t wait to make mine…
LOL Carrie, I can assure you that there was no over achieving this this finish! That sweet fabric pie chart is super unusual, which is what drew me to it in the first place and the random collage textures are such a source of inspiration and I’m sure they will be throughout the year. It did take me about 4.5 hrs to make the cover. Sometimes I rush steps and sometimes I slow down and take my time to make sure I got everything covered but don’t worry it’s not a competition here 🙂
Your planner looks awesome! I need to make a cover for my planner!
oh wow, i just discovered your site…just a week too late! i covered my quilter’s planner with a really wonderful dear stella fabric. but, i did not include pocket elements, which would be so useful. i will have to keep this bookmarked for next year. the planner really is the best i have ever used. despite our awesome age of technology, it’s all about pen to paper (and fabric of course!) for me. love your site. cheers