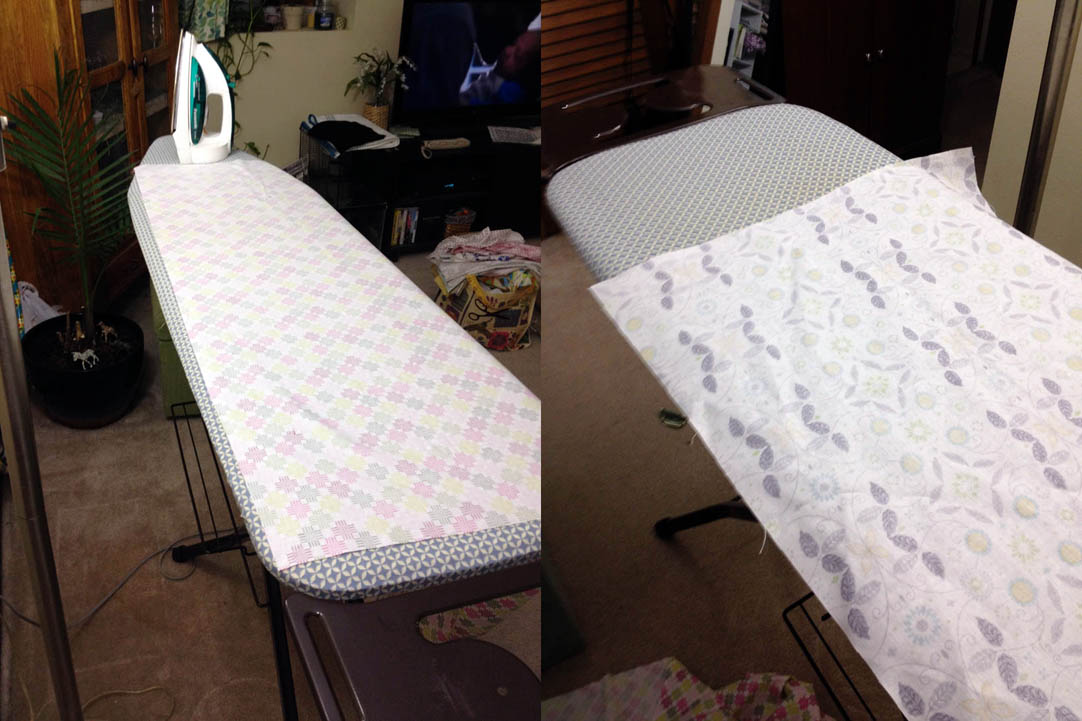
Almost two years ago I picked up my current ironing board. I had to buy a new one after a 2:30 AM disaster but that’s a whole other story entirely. I picked the big one at Target cause it felt like it had better padding than the other one and the larger size should accommodate ironing fabric better (so I thought) since this was going to be used 99% for sewing related ironing and pressing and 1% ironing that one skirt that needs pressing about twice a year. That skirt was white and one unfortunate juice incident and multiple attempts at washing and she is no lover with us (RIP white skirt with the black embroidery on it.)
Please excuse the photos quality; they were taken at night with an old iPhone before I had started the blog!

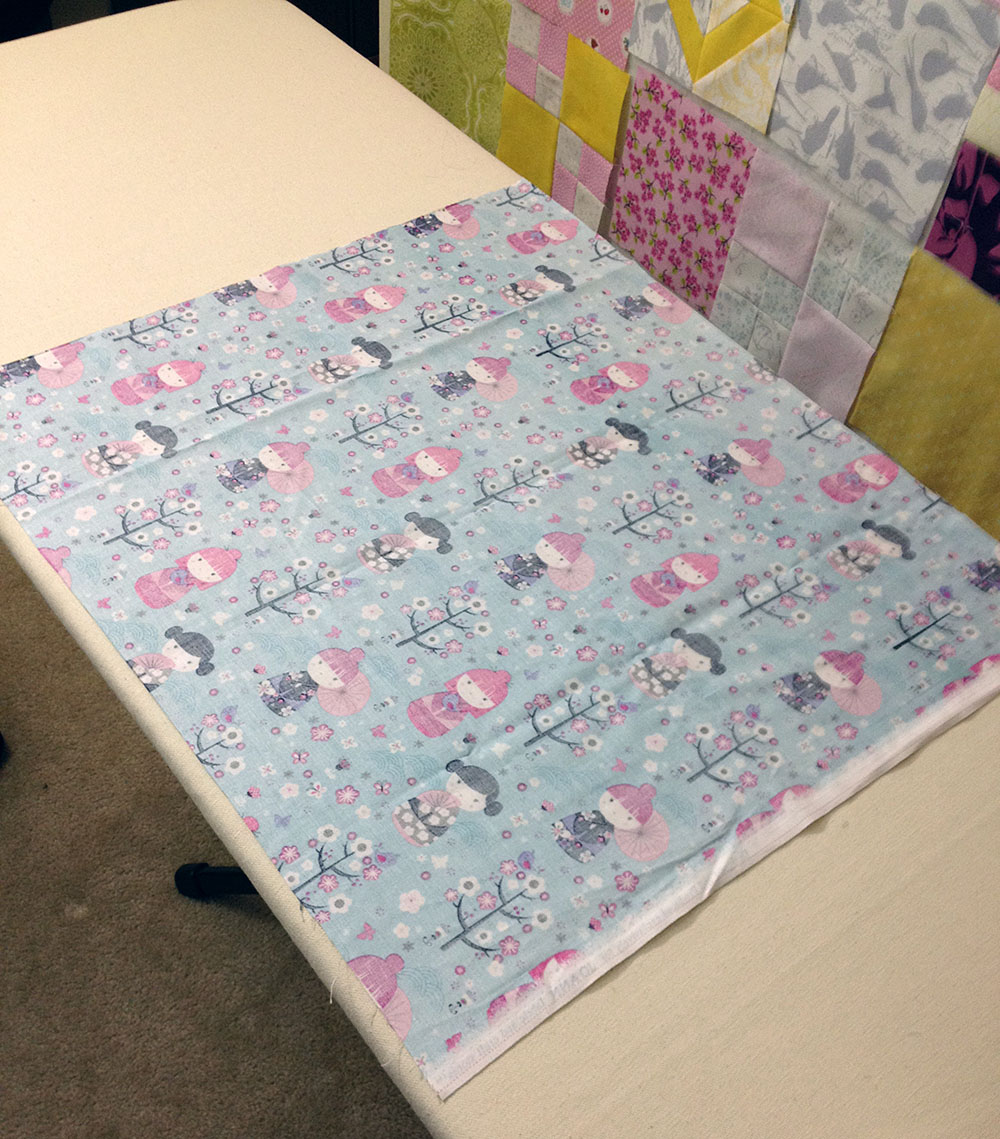
If always drove me nuts that I had to preposition a fat quarter at least twice to fully iron it and that when ironing a full width of a yard of fabric the 44″ didn’t fit on the squared surface of the ironing board.
I’d seen videos and tutorials about making your own press boards and decided what I wanted to do was fit a press board on the frame of my ironing board, so yesterday that’s what I did. I had a friend of mine cut me a board, I think it’s birch which is probably a much nicer and heavier wood than I needed to use but it’s what he had on hand and I thought it best to stay away from woods with glue in them because of the heat of the iron. Fortunately even though my living room is my sewing area I live alone so no one is bothered by the fact my ironing board is only put away once a blue moon. I measured my current ironing board and asked him to cut me a piece at a little bigger, at least 55×19″ My goal was to be able to press a whole fat quarter. I picked it up from his garage last weekend then ran to Jo-Ann’s, Home Depot and Burger King to get started. (Burger King is optional but sometimes I’m too busy crafting to cook, don’t judge me.)
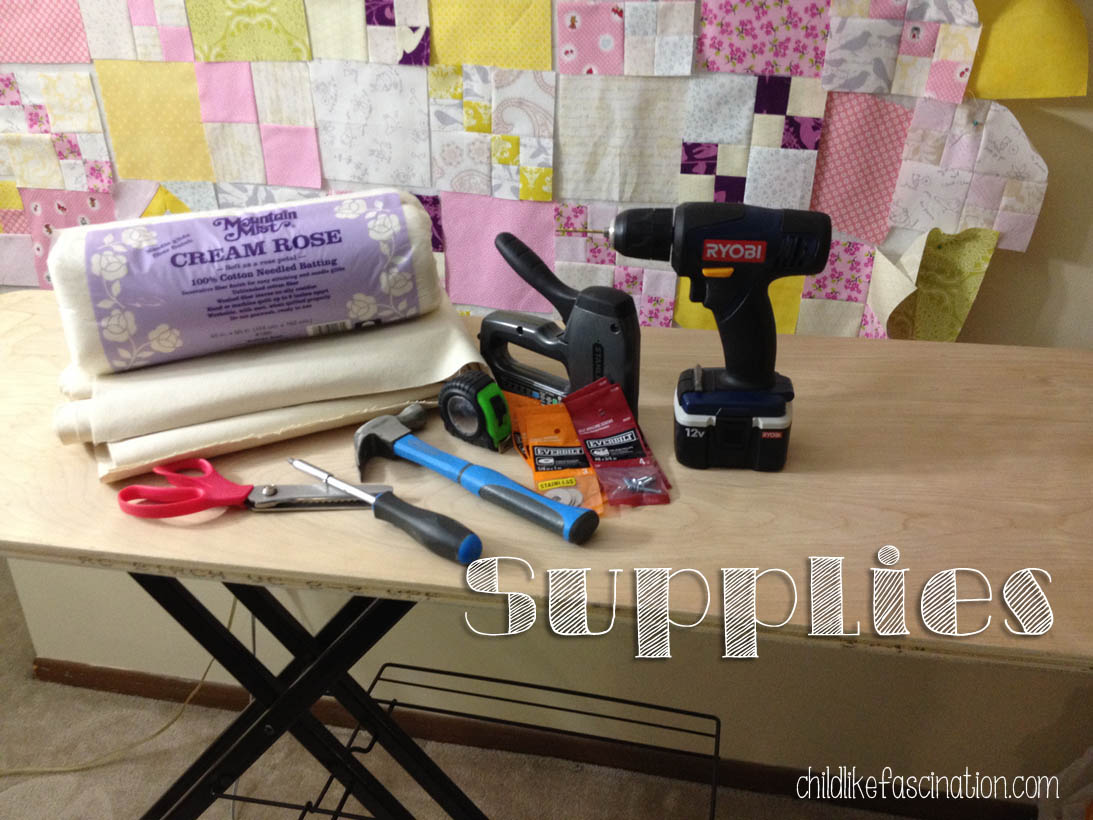
Here’s all the supplies I needed:
- Board (mine was 55×19″)
- 100% Cotton batting (I used 4 layers which used 2 packages of craft size batting<strong=”footnote”>*
- 100% Cotton duck canvas (at least 8 inches wider and longer than your board)<strong=”footnote”>*
- Staple gun & staples shorter than the depth of your board
- Hammer
- Scissors (I used my regular scissors, didn’t want to dull my fabric scissors on the canvas)
- Spray bottle of water (not pictured)
<strong=”footnote”>* – it’s important to use 100% cotton because a hot iron for pressing seam allowances may cause polyester or synthetic materials to melt.
Supplies to attach the board to the ironing board frame:
- Drill
- Screwdrive
- Screws
- Washers
How to make your press board
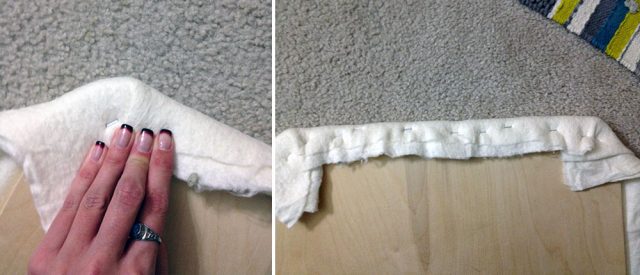
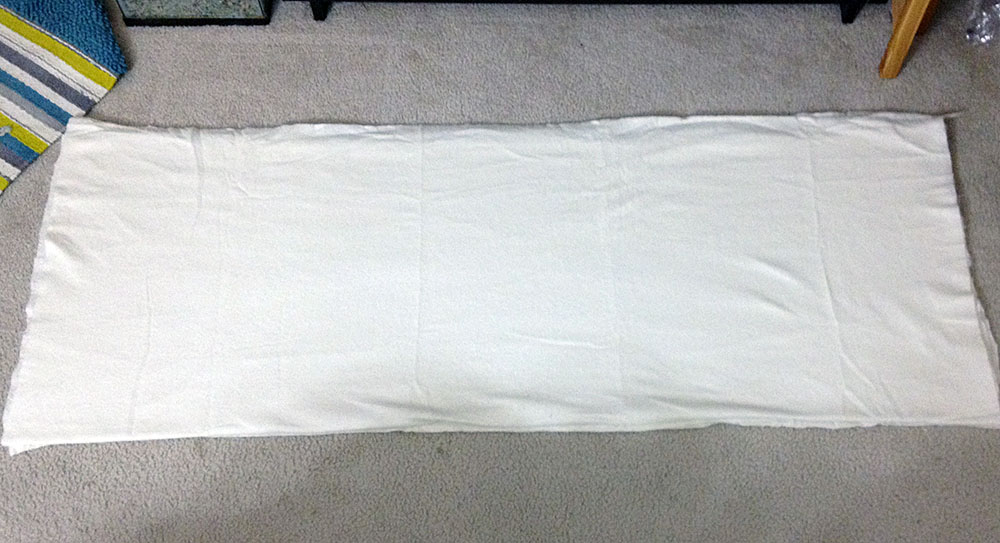
- Lay out your batting layers, make sure you smooth them out as best you can, once you start stapling it’s not easy to turn back

Lay your batting flat on the floor - Wrap the batting around the board and staple in place. You’ll want to pull the batting a bit to make sure it’s taught around the board.

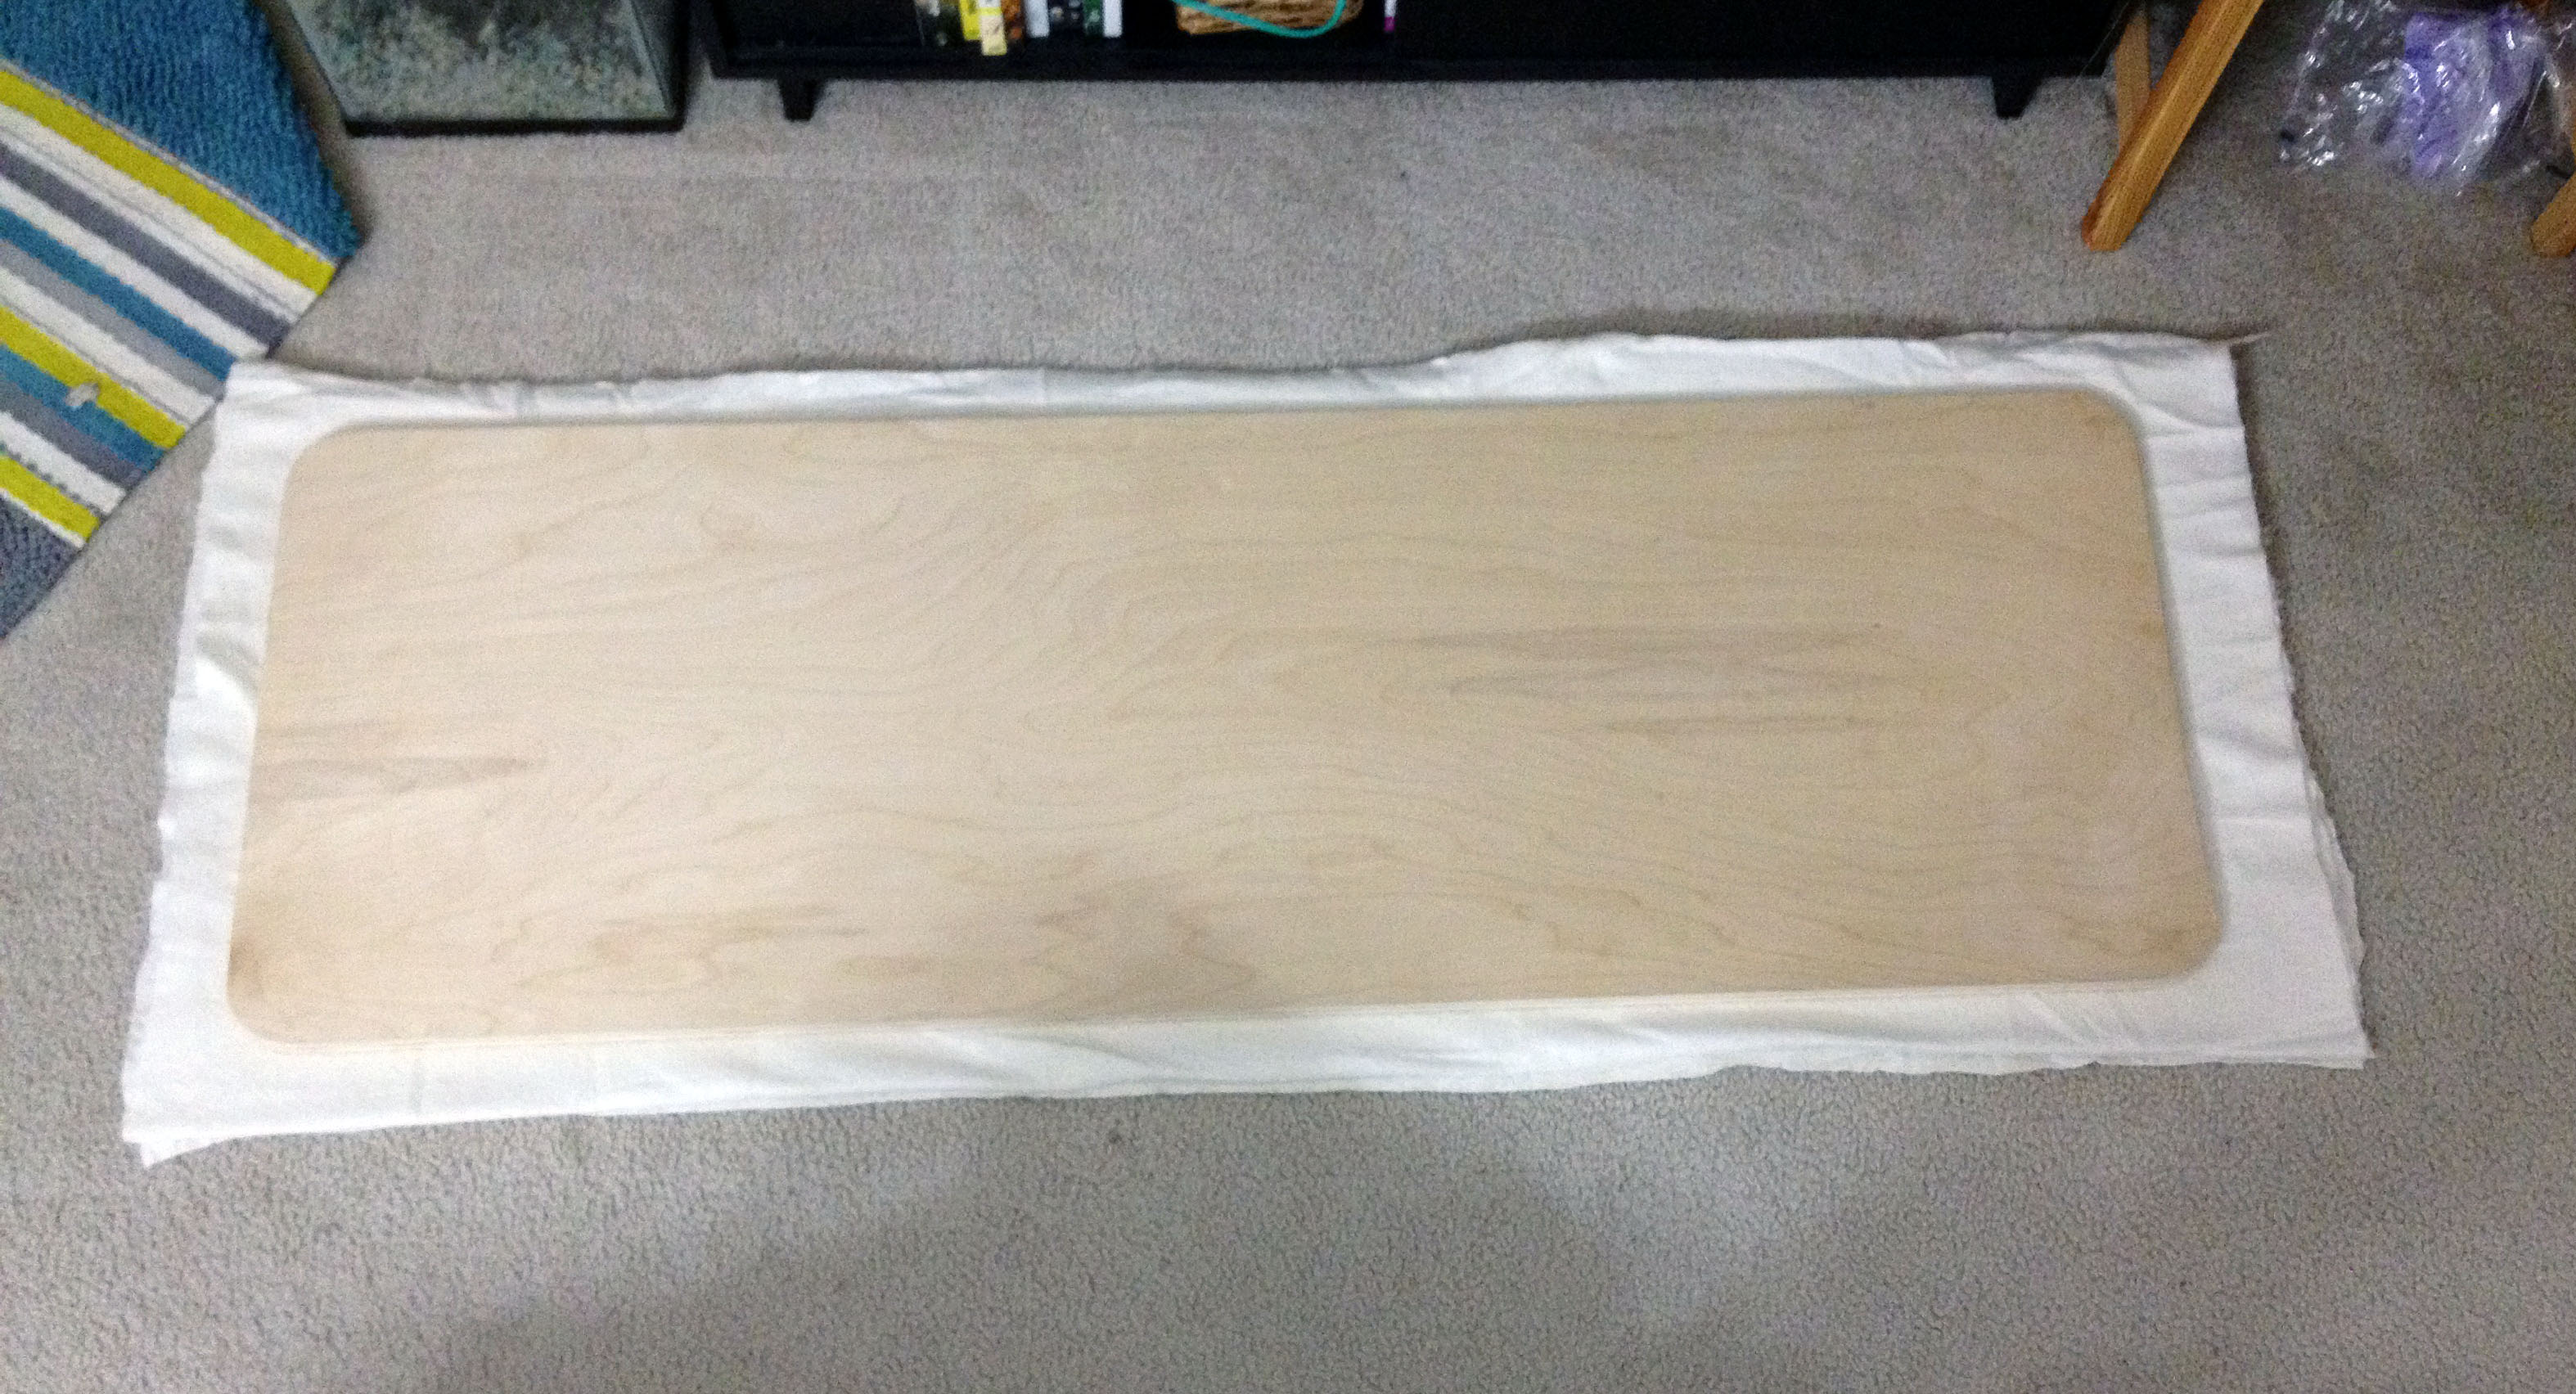
Lay board on batting - Start by securing each corner and tucking the batting in to create smooth rounded edges
- Once all four corners are secure tack down the short ends
- On the long sides tack down in the middle, then half way between the middle and each end to keep the wrapping even and smooth.
Wrap around the corners first, making as many folds as you need to make a tidy corner - Check your board to make sure you don’t have any major tucks or problems in the batting layer
- Hammer down all the staples, even though very few of my staples really NEEDED to be hammered in I feel better knowing that all the staples had a securing hammer tap to it.
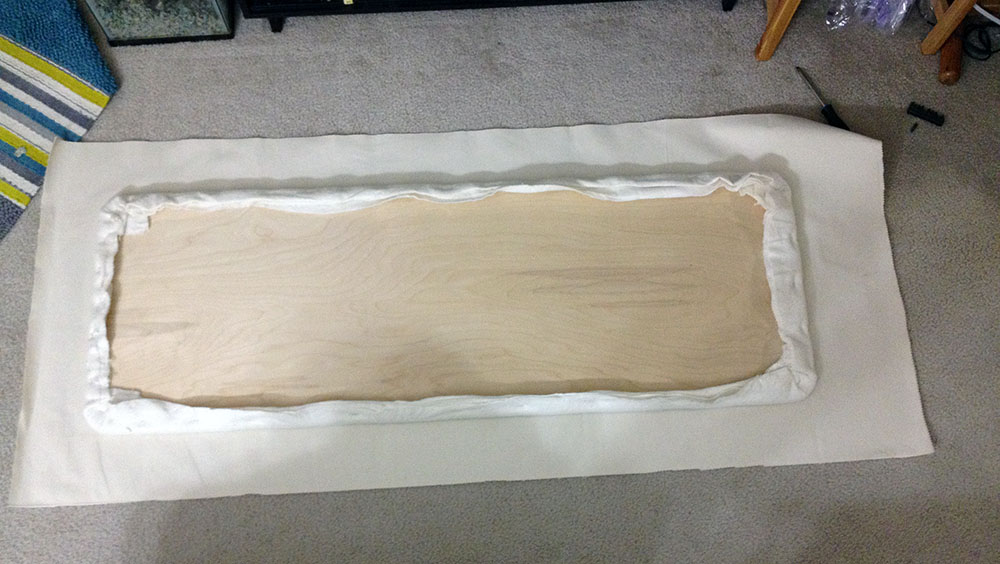
- Layout the canvas and place the batting covered board in the center.
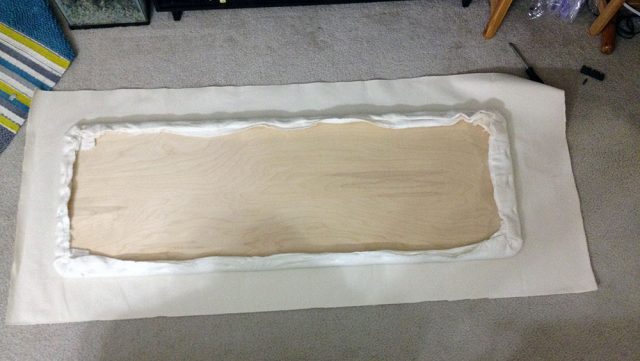
Lay canvas face down, smooth and center board batting side down - Repeat the same process with the canvas as you did with the batting. Staple it in, corners first, then short ends and then long ends. Make sure with the canvas that you pull it as tight as you can, you want the canvas to create a strong wrap around the batting and board. I made sure my canvas would reach past my batting and folded the raw edges because the pinking sheers just didn’t cut it to keep the fray away.

Staple that canvas on the board - Flip over your board and marvel at it’s awesome.

Board with batting & canvas applied 
Marvelous pressboard!


Attaching the board to your ironing board base
This specifically applies to ironing boards with a metal mesh top
- Remove the old grimy cover and batting
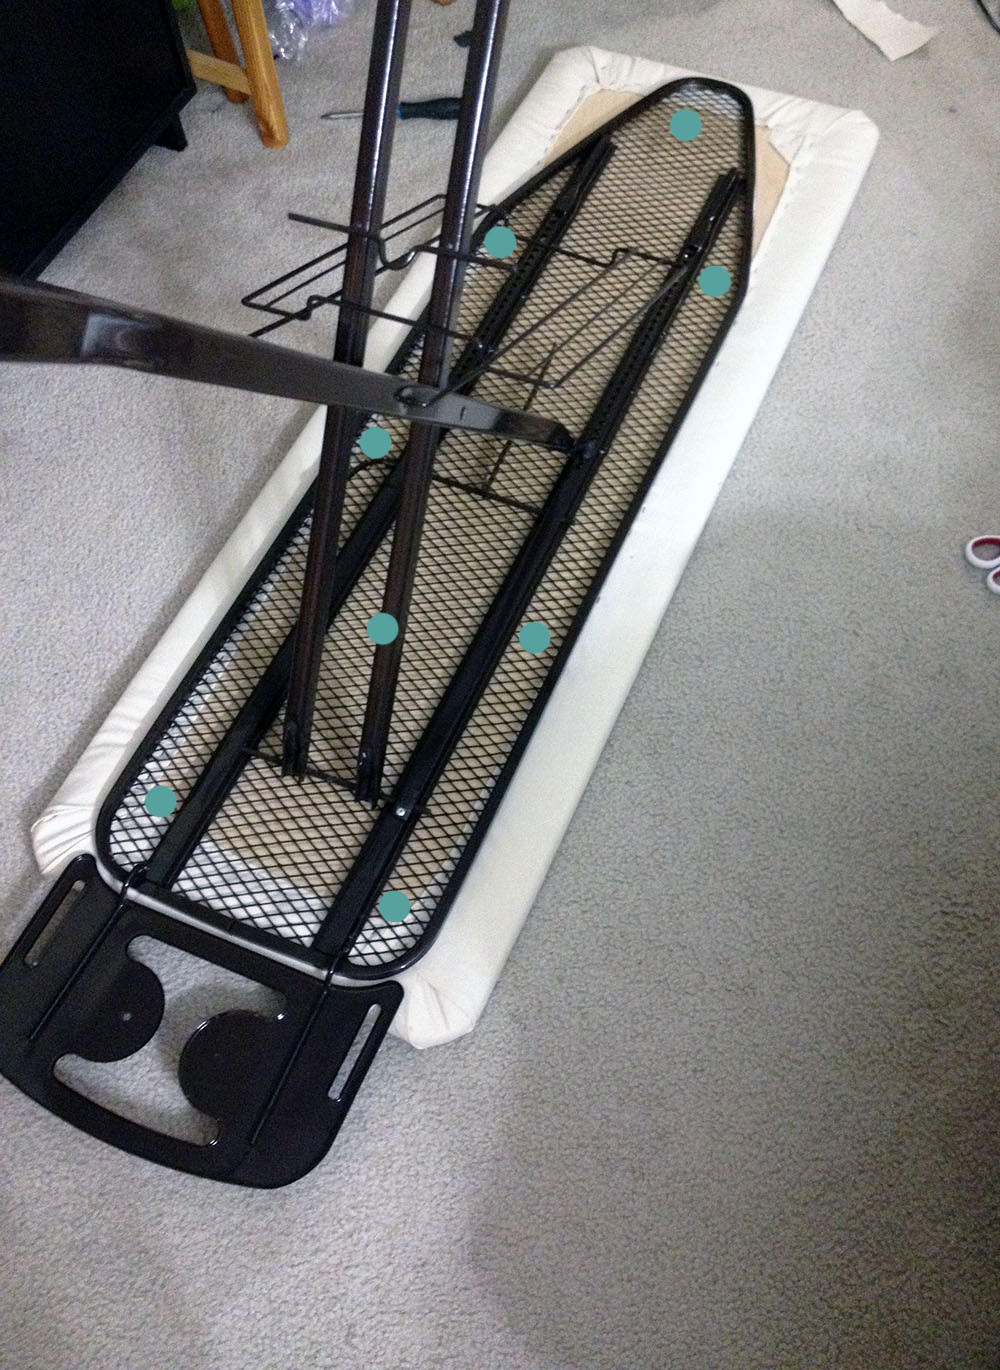
- Center the ironing board base on your board and mark on the board where you want to attach the screws. Try and spread it out pretty evenly and creating triangles (triangles are strong) On this photo I’ve illustrated where all my screw were attached.

The green dots mark where I drilled my holes - For each screw attachment point drill a pilot hole. A pilot hole is where you drill a hole just a hair smaller than the screws’ size to make it easier to screw in.
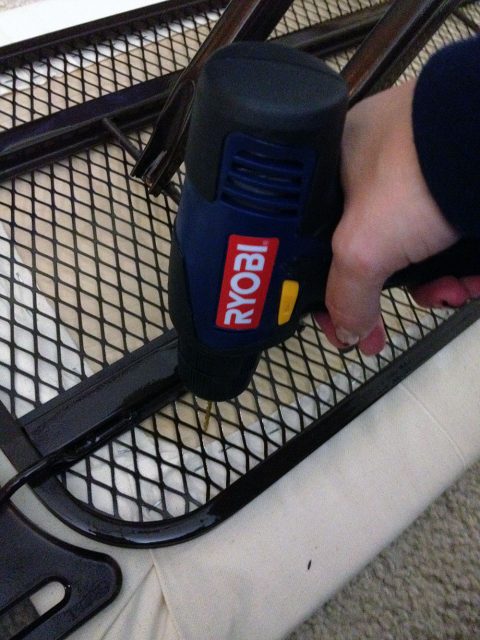
Drilling a pilot hole - Put the washer on the screw and screw the pair into each hole

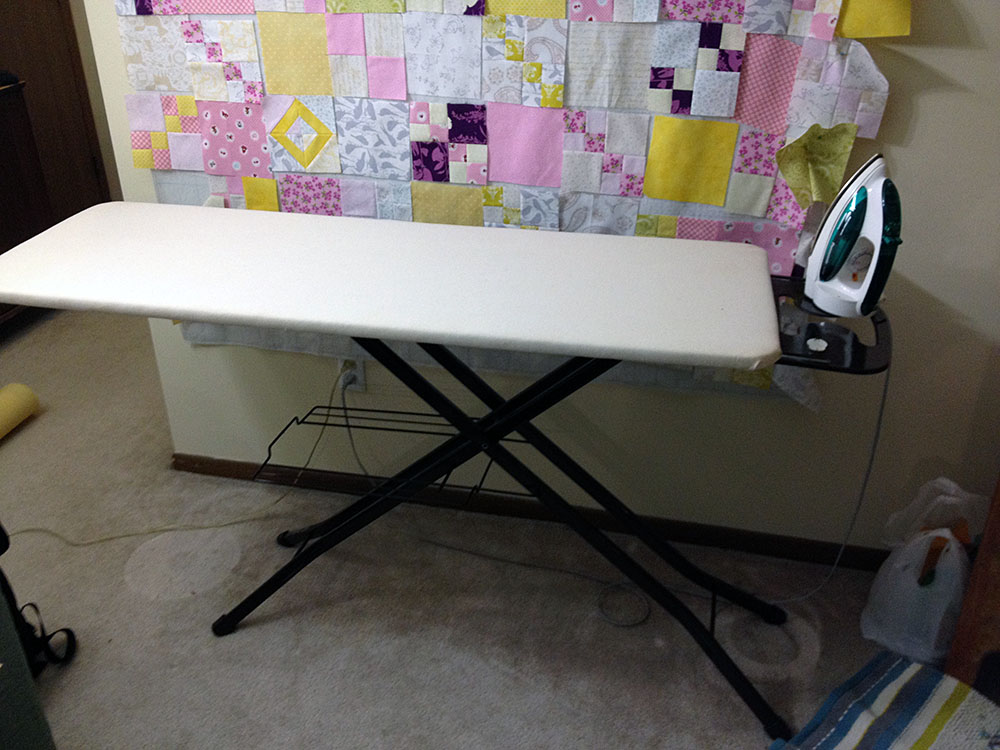
Use the washer to make sure the frame stays secure - Flip over your ironing board and marvel at the amazing thing you’ve created

For real, the best thing I’ve ever made. So useful!


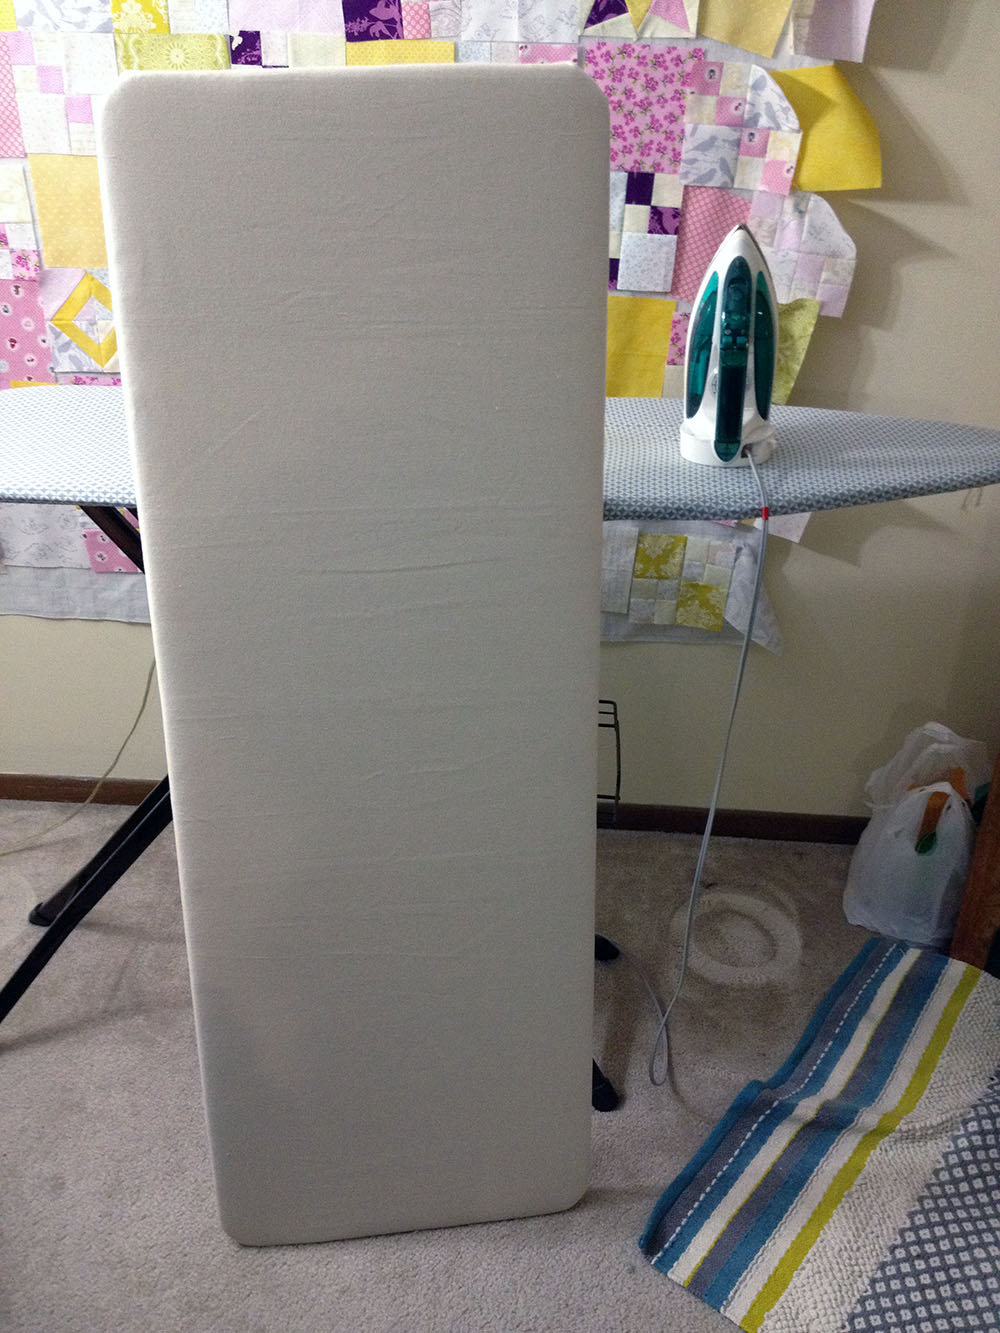
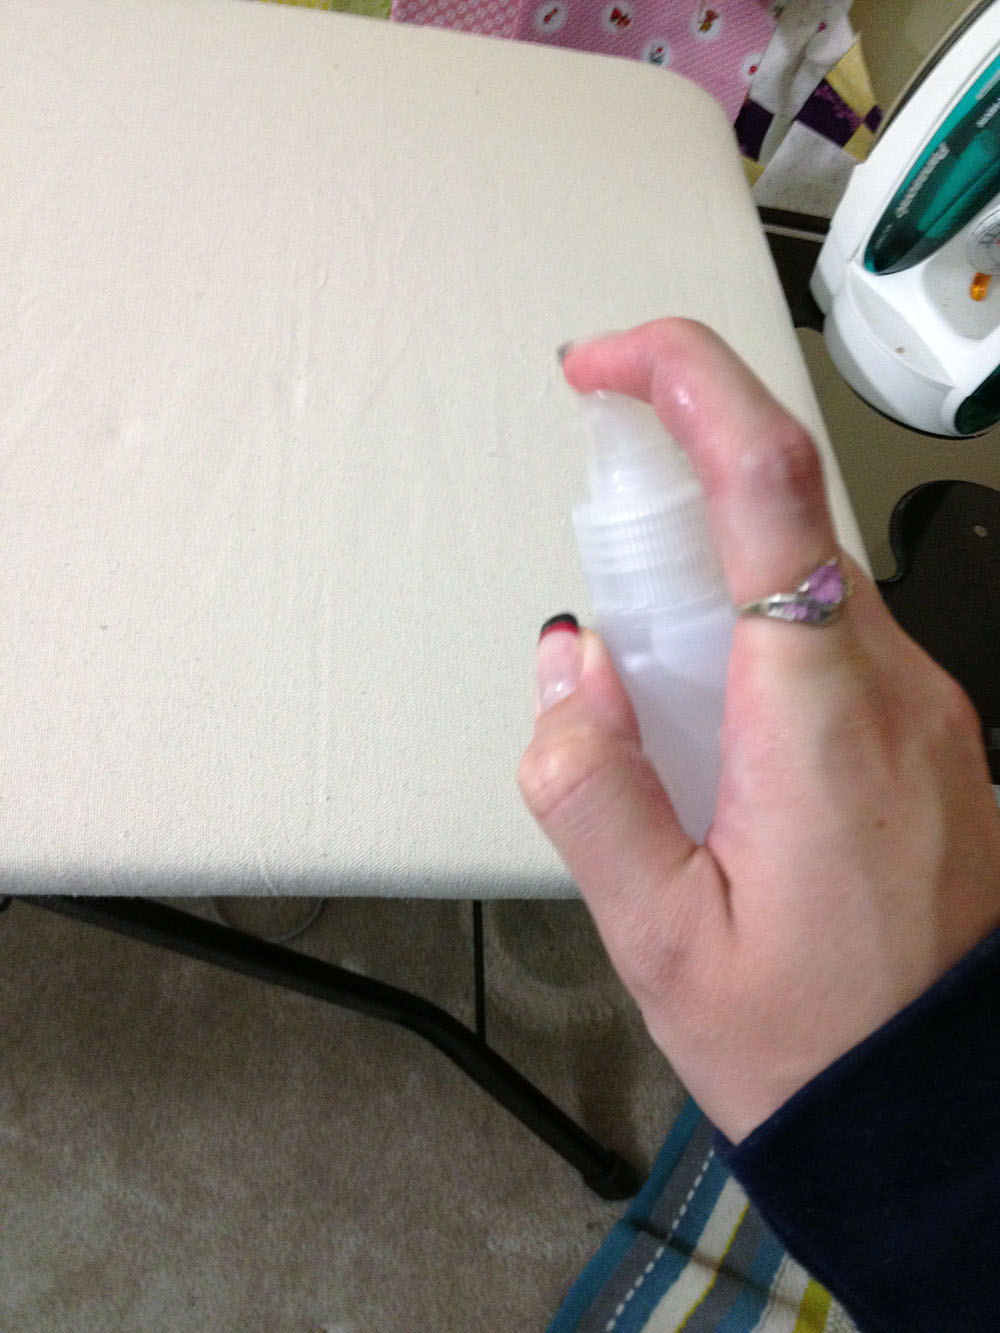
Tighten the canvas
Whether you’re using your press board on a table or attached to a ironing board base you should try and tighten the canvas. I’ve read to just spray it down with water and let it dry or using hot water and a sponge but what i did was saturate it with a pray bottle and let it mostly dry. Once it was mostly dry I turned my iron onto high with full steam and ironed all over the board (even the edges)
How Does it Work?
In a word: MAGNIFICENT! That night I wanted to whip up a couple quilt blocks and it was amazing to be able to press all 6 fat quarters without having to re-position the fabric. I also loved pressing my seams so flat on a paper pieced FWQ block.
I made it in November and 6+ months later I don’t think I’ve ever taken it down in my “craft area” (aka. living room).
Additional sources
There’s other great tutorials on making press boards, I always recommend before you take on a DIY you check how many people do it. Other bloggers have better ideas on the type of wood to use and have more details on wrapping corners than I did so check em out!
- Perfect Pressing Boards: A DIY Tutorial – Sew Much Like Mom
- diy pressing board – Splis, Splash Stash
- TV Tray Pressing Board Tutorial – Oh, Fransson!
- Shaorn Schamber’s Perfect Pressing Board – YouTube video
Linking up with:


If you’ve built a custom ironing area or pressboard share it with us in the comments!
Very nice! I did a pressing board like this that sits on the table behind me and my sewing machine table… what a life saver for pressing quilting pieces! But thanks for the tip about tightening it. I didn’t know that and I am sure it would have helped mine fit better. I am going to be recovering it soon and will definately tighten it!
Yea the water and heat didn’t tighten the canvas up a lot but it did help quite a bit. I should have posted the months later update where the canvas is all stained in a couple spots and I should prob whip up a drawstring cover for it sooner or later!
You are right, this is magnificient! Also the blocks on your design board are lovely, fresh colors! and thanks for your kind comment on my blog. Greetings. Christine
Sounds great, maybe when I overhaul my sewing machine, I’ll do this.
I love it! Totally brilliant! Thanks for the inspiration!
Love it! I gotta have it!
It’s amazing!
I never thought that I would ever get this… But I have ironing board envy! One of these days I will do this! Thank you so much for sharing your tutorial!
Like Lorna, I have total ironing board envy! I so want this! Like you, my ironing board never goes down anymore, so I might as well have something I love, right! This is going to the top of the to do list!
E xx
That is brilliant! I will have to see if I can track down an appropriate piece of wood (my brother builds things, so maybe??) to make one myself.
How would you clean the top if it got stained? I’d love to make one of these, but I worry about how to clean it. My current ironing board cover is quite stained – I guess maybe with deposits from our water…? Great tutorial!
Hi Sara! Great question, this is an issue I’m just coming across now. My board is ugly and stained and I almost burnt a hole in it yesterday so now it’s extra ugly and stained. I wish I’d created a cover for it when this project had started out btu that’s what I plan to do now. I’m going to sew a cover, much like the irnoning board covers we are so accustomed to, with either elastic or a drawstring. Haven’t gotten the details wrapped up but we’ll see and I’ll try and post an update!
Love this idea but as my ironing board is multi position ie., table height right up to cutting table height I will use this idea so I can use it for a sewing table for my sewing machine and cutting table which can also be used to press seams etc., as I’m sewing. Love sewing but not all the time as I do other crafts so need to be able to put it away. No space for a dedicated craft room!